
Flashing Failure Repair in Staten Island, NY
Flashing repair for Staten Island commercial roofs: parapet returns, counterflashing, curbs, wall joints and penetrations. Request a written roof inspection.
A parapet return with the counterflashing dropped a half inch below its reglet, and a dark stain on the brick beneath it, is a line an inspector writes once and underlines, because most commercial roof leaks start at a flashing joint and travel before they show. The field of the membrane is rarely the culprit. The flashing is the part that has to work where two things meet, a roof and a wall, a roof and a pipe, a roof and a unit, and those joints move.
Commercial Roofing Staten Island repairs and rebuilds failed flashing on commercial roofs across the island, and we trace each stain on the ceiling to the joint above it before anyone cuts the roof open.
What flashing is
Flashing is the material that makes a roof watertight at its edges and interruptions. Base flashing runs up the wall or the curb from the field of the membrane. Counterflashing or a metal cap covers the top of the base flashing and sheds water over it. Edge metal and coping cover the parapet. Boots and pitch pockets seal pipes. Each layer depends on the one beneath it, and a failure in any layer lets water behind the rest.
The materials vary with the roof: welded sheet on single-ply roofs, torch or adhered sheet on modified bitumen, built-up flashing on older roofs and sheet metal at the top. What they share is movement. A roof expands and contracts every day, a wall moves differently, and the joint between them has to take the difference without opening.
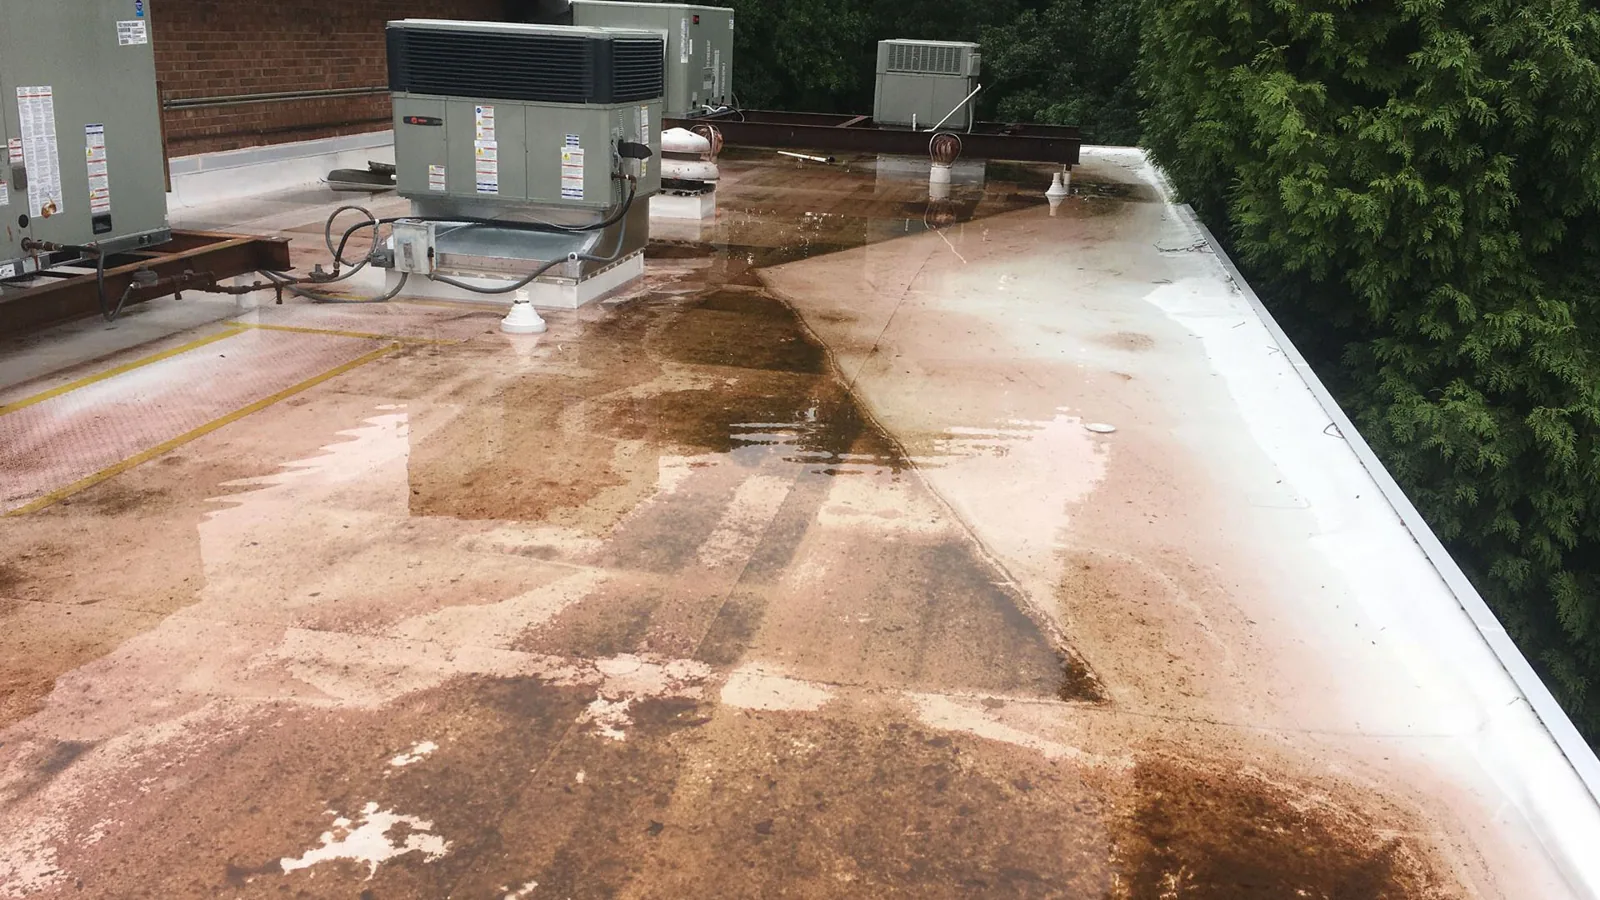
Height is the dimension that matters most. Base flashing needs enough rise above the finished roof to stay clear of ponded water and snow drift, and an older roof that has been built up several times often has flashing cut down to a few inches. A ponding water problem and a low flashing make each other worse.
Where flashing fails on the island
Old masonry is the usual setting. The limestone Art Deco Federal Office Building of 1931, Borough Hall of 1906 and the 1919 courthouse around Richmond Terrace, and the tall brick buildings on Tompkinsville's commercial streets belong to the kind of building stock where a parapet wall is part of the roof and flashing depends on the masonry behind it.
Failure comes in familiar forms: counterflashing pulled out of its reglet, mortar joints that let water behind it, base flashing that has shrunk away from the wall, sealant that has dried and split, boots that have cracked around pipes and curbs that were flashed once and never checked. Each shows up first as a stain or a damp wall inside, often a floor or two away from the real source.
St. George and Port Richmond add the waterfront. The St. George Terminal dates to 1886 and Richmond Terrace faces the Kill Van Kull, mixing 19th-century buildings with working waterfront uses, and wind off the water drives rain into any gap in a flashing on that side of the island. A joint that stays dry in a sheltered inland lot can leak on the Terrace after one nor'easter.
What the inspector looks at
We walk every wall, curb and penetration and check the height of the flashing above the finished roof, the termination at the top, the mortar and coping stone behind it, the sealant and the fasteners. We press the base flashing for stiffness and look for gaps at corners, where cut and folded material opens first.
- Flashing height against the water line, where low flashing is a leak waiting for a pond.
- Termination bars, counterflashing and reglets, checked for looseness.
- Parapet returns and the masonry behind them.
- Pipe boots, curbs and pitch pockets, which dry out and split.
Inside, we trace each stain back along the wall to the joint above it, because the stain and the entry point are rarely in the same spot.
We also check the underside of any parapet we can reach, looking for efflorescence on the masonry, which is a white crust that water leaves behind. It tells us how long water has been moving through the wall, and sometimes it points to a leak that has been running for years.
The repair in plain terms
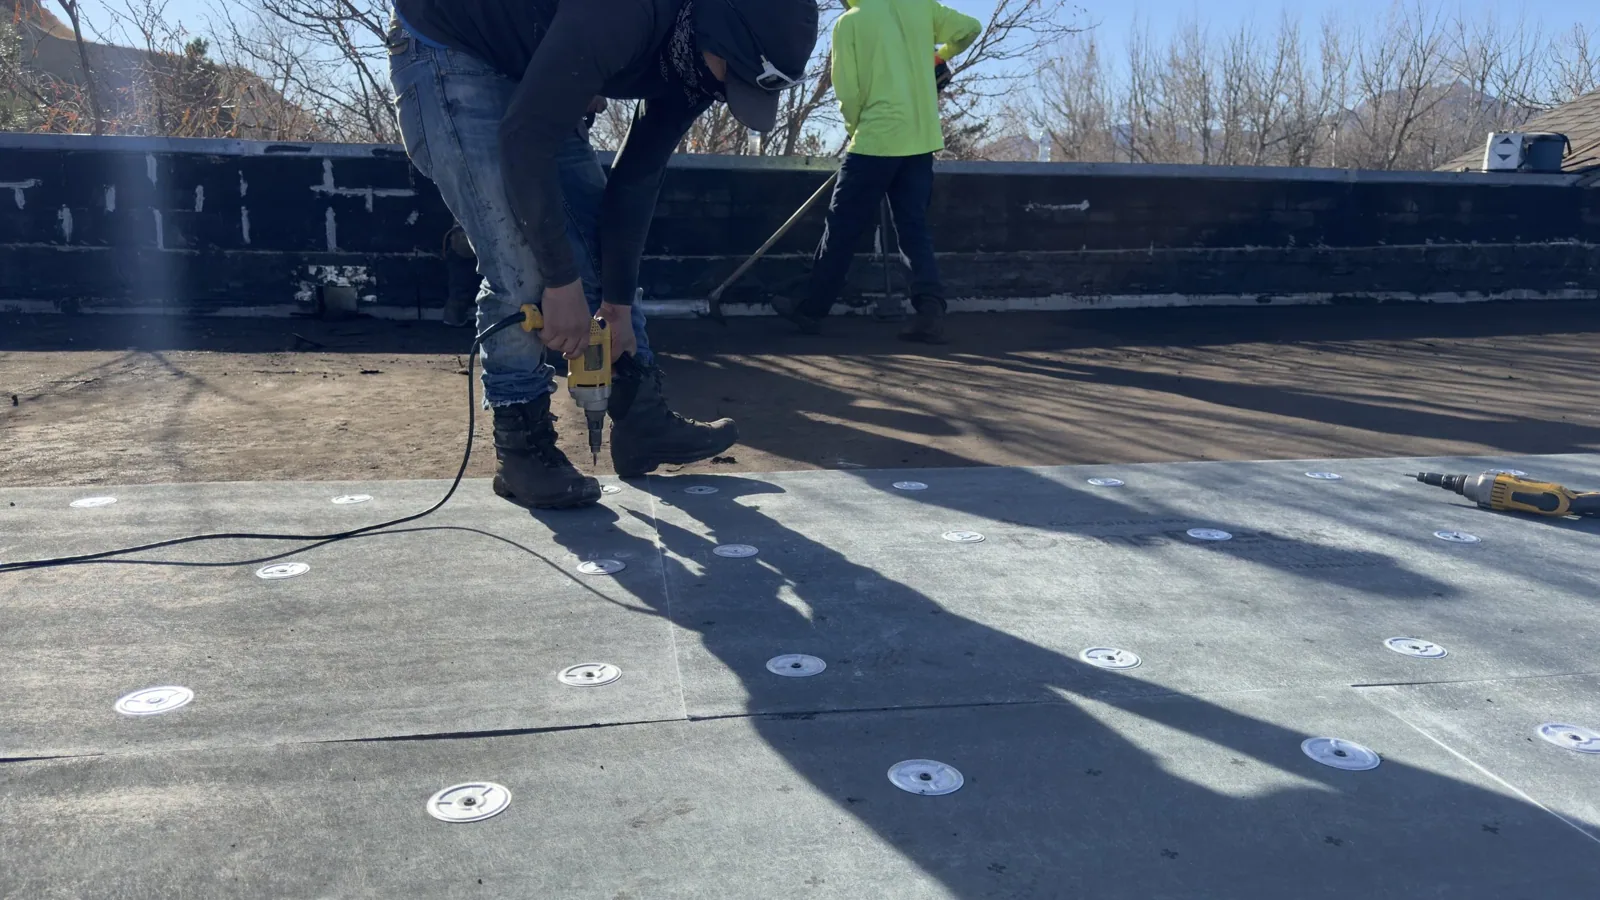
The repair starts by opening the failed joint and finding why it failed. Loose mortar is repointed, coping is reset, base flashing is cut back to sound material and replaced with new sheet that is welded or adhered to the field, and counterflashing is rebuilt and sealed. A boot is replaced, not patched. If the wall behind the flashing is the problem, the wall is fixed first, because a new flashing on a bad wall fails again.
Where the roof is old and the flashing is failing everywhere, the answer may be a commercial roof replacement with new flashing built into it. For a roof that is otherwise sound, targeted work through commercial roof repair is the better spend. Where a curb is the problem, rooftop equipment curbs and supports are rebuilt with the flashing.
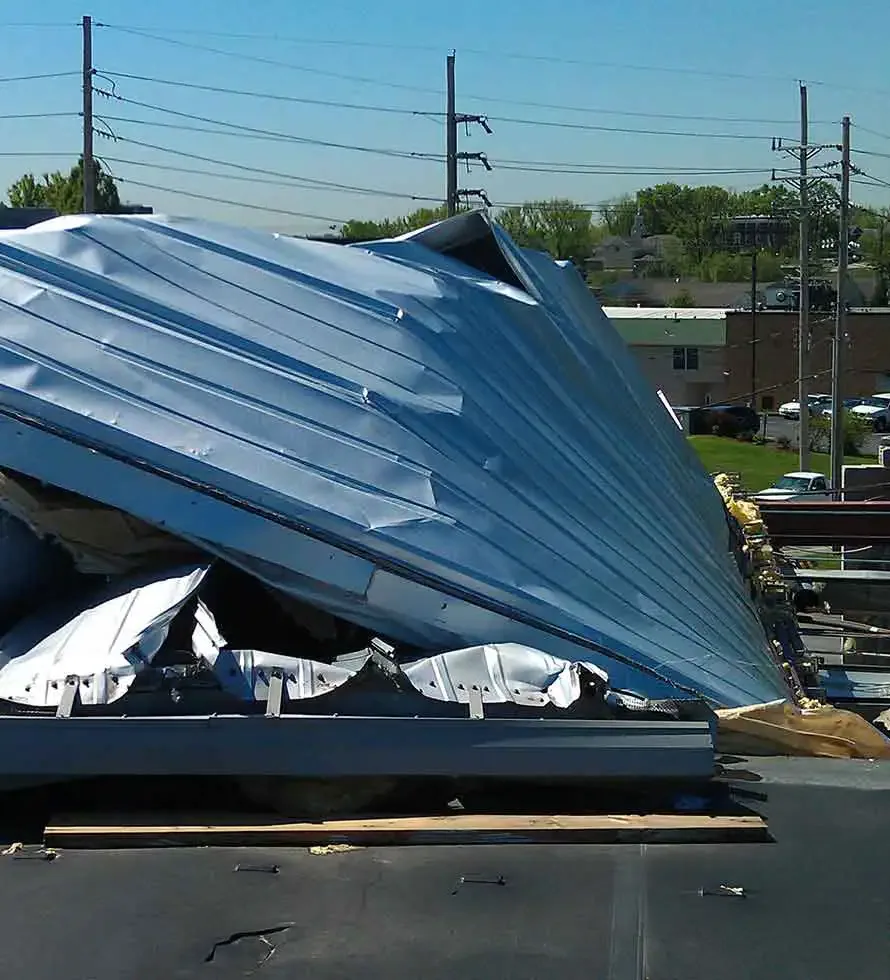
Wind damage often starts at a flashing, since a loose termination is where gusts get under a sheet, and a wind damage repair that skips the flashing leaves the same weakness behind. Cost drivers are plain: linear feet of wall, the condition of the masonry, the number of curbs and penetrations and access, and we price flashing by the foot so the owner can compare.
Storm and winter checks
Flashing takes the weather directly. Wind-driven rain gets behind counterflashing that sits loose, and Sandy's gusts of up to 80 mph in October 2012 serve as the case in point. The downpour behind Ida's flash flood emergency in September 2021 found every gap, which is the best argument for checking flashing before the next storm.
Winter does its own damage. With annual snowfall in the city around 29.8 inches, freeze and thaw open sealant joints and push loose mortar out. After the thaw, we walk the walls and curbs again and re-seal what moved. A joint that was tight in October may have moved by March.
After the last storm of the season, we walk the walls again and add any joint that moved to the spring list.
What goes in the log
The log lists every flashing by location with its height, its condition and a photograph, and it records which joints were repaired, with what and on what date. A seam failure found next to a flashing is noted in the same entry, because the two often fail together.
Owners near Tompkinsville and along Bay Street can hand us the roof plan and the stain history. For historic or civic buildings the Department of Buildings, which publishes the 2022 NYC Construction Codes, is asked which filings apply before the wall work starts.
The closeout carries a dated photograph of each finished joint, the material used and the height achieved, so the next inspection starts from a measurement and not a memory.
Related Roofing Work
More roofing work that comes up alongside Flashing Failure Repair.
Commercial Roofing Questions
Why does a leak show up far from the flashing?
Water runs along the deck and the wall before it finds a gap, so the stain can be a floor away. We trace it back on the roof before opening anything.
Can flashing be repaired with sealant?
Briefly. Sealant dries and splits with movement, so it buys a season at best. A proper repair replaces the failed material.
What if the wall behind the flashing is bad?
The wall is repaired first, with repointing and coping reset, because new flashing on a loose wall fails again.
How high should base flashing be?
High enough to stay above ponded water and shed water over the top. Old roofs often have it cut too low.
How often should flashing be checked?
Twice a year, in spring after the thaw and in fall before the leaves, plus after any big storm.